Hello Inspiration Cafe readers. I'm Bliss and I blog at
BlissRanch. I think when Danni asked me if I would like to do a guest post she was hoping I'd show you a furniture creation, maybe something like this
Kodak Dresser.....
or maybe a
piece of furniture that rocks.....
But it's December for goodness sakes, and Danni is such a deer.....
So instead I'm going to tell you about the log reindeer we make for friends and family.
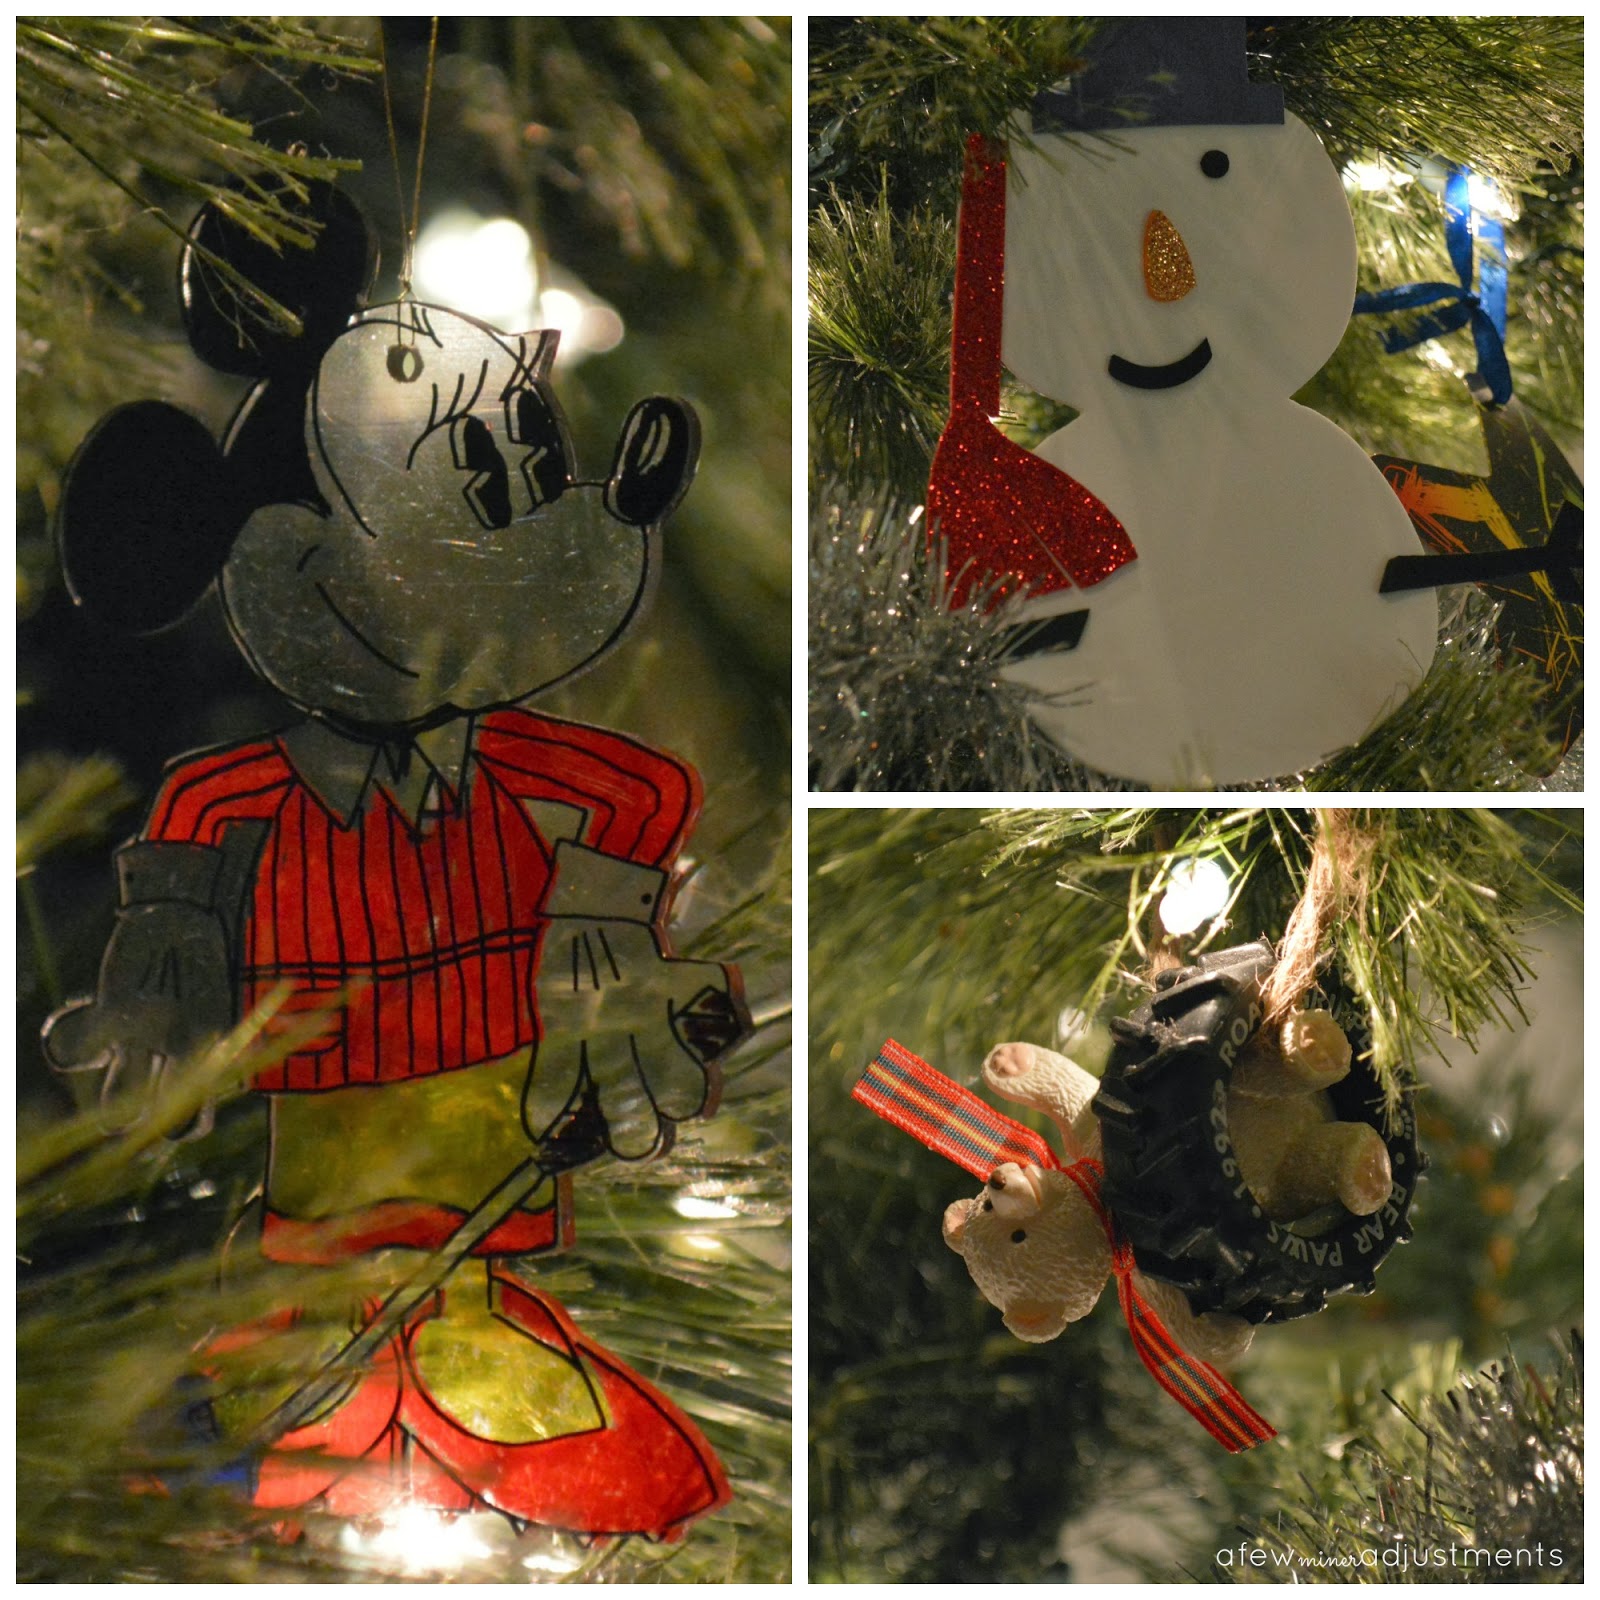
This is one project that I start for the holidays well before the snow flies. My husbands Uncle Tony was our inspiration about 20 years ago. He made fairly good size deer then strung lights on the antlers and one year he made some small ones for us to hang on the tree.
 |
| Uncle Tony's Mini Deer Ornament |
That started my obsession with making them as gifts, plus we have plenty of the raw material laying around.
 |
| Future Reindeer |
One Christmas Eve some "deer" friends of ours went to church and while they were gone we implemented operation "Not Tonight Deer". The covert mission involved quietly placing "Oh Deer" and "Yes Deer" on their walk way to welcome them when they arrived home. My husband Brawn and I thought we were pretty darn funny.
Over the years we have made lots of Rudolphs, and every one looks different. The newest ones were made for each of the Grand kids with their names.
No I do not have a grandson named Rudolph.
Our original deer had big wiggly eyes, but those didn't hold up so well in winter, and neither did their faux white fur tails. And more than a few red noses have smashed to the ground.
Now we make most of their body parts out of wood.
Brawns in charge of the main body, tails and ears, I do eyes, antlers, legs and finishing touches.
They get a coat of glitter so they sparkle in the snow, some get jute with bells, and some get scarves.
The scarf on this deer was an old knit hat with pom poms that I cut up.
Antlers are usually better looking,
but there were mosquitoes out in antler making country when this one was made.
These ones are out to pasture. Winter is hard on deer. The one on the left is bark-less - Brawn made it that way. These will get all cleaned up with new noses and scarves, fresh antlers, missing legs replaced, and soon they will line our walkway.
The deer Uncle Tony made had noses that would light up.
Ours do not.
When this deer comes out of the shed it will go live at our oldest son's home, but first it will get some better antlers!
Thank you for inviting me Danni, I'm so very happy to be here and offer up a taste of
Bliss Ranch inspiration at the Inspiration Cafe! Everyone is welcome to stop in at the ranch.


 Springfield Time
 Melbourne Time
 Auckland Time


